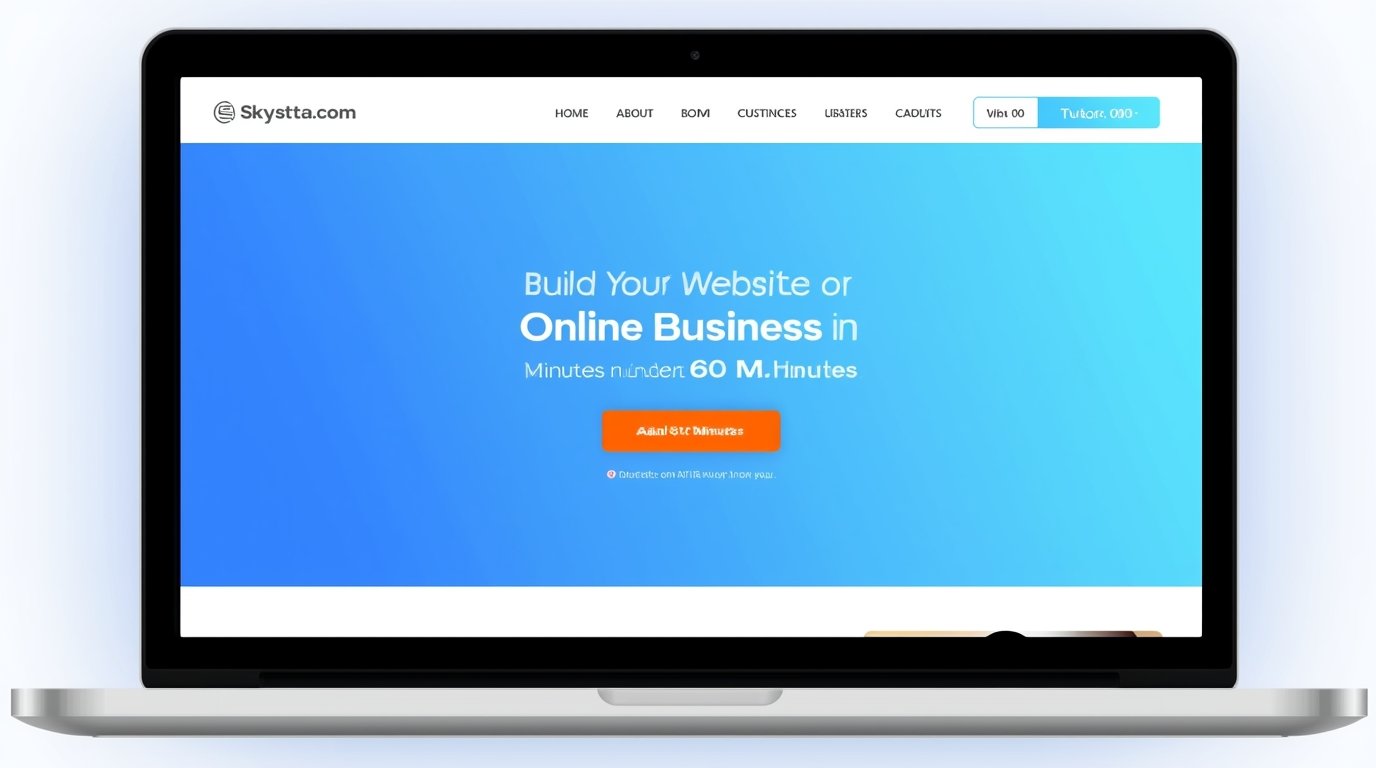
Skystta com Tutorial: Build Your Website or Online Business in Under 60 Minutes
Skystta com
Whether you’re launching a portfolio, digital store, blog, or landing page, Skystta com makes it simple. This guide will walk you through everything you need to go from signup to live site.
Step 1: Sign Up for an Account
1. Visit Skystta.com
(URL omitted for privacy, replace with your actual landing link if needed)
2. Click “Get Started” or “Sign Up Free”
- Enter your name and email
- Choose a strong password
- Optionally connect your Google account for quicker access
3. Email Verification
- You’ll receive a confirmation email. Click the link to activate your account
Step 2: Choose Your Project Type
After logging in, Skystta will prompt you to select what you want to build:
- Personal website
- Business site
- E-commerce store
- Blog or publication
- Landing page
- Digital portfolio
Tip: Choose the option that best matches your primary goal you can always expand later.
Step 3: Pick a Template
Skystta offers pre-designed, mobile-optimized templates for every niche:
| Category | Examples |
| Business | Agency, Restaurant, Fitness |
| Creative | Photographer, Designer, Coach |
| E-commerce | Clothing, Handmade, Digital |
| Blog/Media | Lifestyle, Tech, Food Blog |
| Personal/Resume | Portfolio, Bio link, CV Page |
You Can:
- Preview live versions before choosing
- Switch templates later without losing content
- Customize all colors, fonts, and layouts
Step 4: Customize Your Website
1. Use the Drag-and-Drop Editor
Move sections, edit text, add images, or insert buttons, no coding required.
2. Add Essential Pages:
- Home
- About
- Contact
- Services or Products
- Blog (optional)
- Testimonials or Reviews
3. Upload Branding:
- Your logo
- Favicon
- Brand colors and typography
4. Edit SEO Settings:
- Page title and meta descriptions
- Image alt-texts
- URL slugs
✅ Built-in SEO tools help you rank better on Google from day one.
Step 5: Set Up Your Online Store (Optional)
If you’re selling physical or digital products:
1. Navigate to “Store” or “Products”
- Add product names, images, and pricing
- Write clear, SEO-friendly descriptions
- Set up categories (clothing, courses, bundles, etc.)
2. Configure Payments:
- Link Stripe or PayPal
- Set default currency
- Add taxes and shipping options (if physical goods)
3. Launch Your Storefront
- Add “Shop” to your main menu
- Test checkout flow
- Create discount codes or bundles if needed
Step 6: Enable Email Marketing & Automation on Skystta com
1. Go to “Marketing” Dashboard
2. Set Up:
- Email sign-up forms
- Welcome sequences
- Product follow-ups
- Abandoned cart emails
Example Flow:
- User signs up →
- Receives welcome email →
- Clicks link to shop →
- Gets a discount if no purchase in 48 hours
3. Monitor Performance
Track open rates, click-throughs, and conversions.
Step 7: Set Up Analytics & Tracking
Built-in Dashboard Shows:
- Daily traffic
- Bounce rate
- Conversion rates
- Top-performing pages
You Can Also:
- Integrate with Google Analytics or Facebook Pixel
- Monitor real-time user behavior
- A/B test landing pages or headlines
Step 8: Launch with Security
Skystta includes:
- Free SSL certificate
- DDoS protection
- Cloud backups
- GDPR-compliant forms
Make sure:
- All your content is saved
- You’ve tested your mobile view
- Payment gateways are working
Step 9: Go Live 🚀
1. Click “Publish”
Your site is now live on a free Skystta subdomain.
2. Add a Custom Domain (Optional)
You can connect your own domain or buy one directly through the platform.
Example:
| Step | Domain Setup |
| 1 | Click “Connect Domain” |
| 2 | Enter your domain (e.g., mybrand.com) |
| 3 | Follow instructions to update DNS |
| 4 | SSL auto-installs |
Bonus Tips
Use Pre-Built Blocks:
Save time with ready-made pricing tables, testimonials, call-to-actions, galleries, etc.
Use the AI Assistant (if available):
Some versions of Skystta include an AI copywriting assistant great for product descriptions, blog intros, and meta tags.
Schedule Blog Posts:
Write in batches and schedule them ahead. Great for SEO and consistency.
Use Free Image Library:
Search and insert royalty-free photos directly from within the editor.
Ready to Build with Skystta com?
With everything from design tools and store setup to marketing, automation, and analytics, Skystta is built for creators who want to launch smart and fast.


![Link to MP4 – The Ultimate Guide to Free Video Link to MP4 Converters [2025]](https://sfm-compile.net/wp-content/uploads/2025/06/Leonardo_Phoenix_09_Make_me_a_beautiful_attractive_and_informa_0-1-768x434.jpg)