Ultimate Guide to SFM Compile Step by Step (2025 Edition)
Introduction
You’ve poured hours into modeling characters, texturing scenes, animating movements in Blender or Maya, and building maps for your cinematic idea. But in order to use those assets in Source Filmmaker, you need to compile them properly. This “SFM compile” process transforms your raw files into formats SFM understands.
In this guide, you’ll learn:
-
What “SFM compile” means and why it matters
-
Tools you need to get started
-
A step‑by‑step compile workflow
-
How to debug common errors
-
Optimization strategies
-
Platform‑specific tips (Windows, Linux, Mac)
-
Useful plugins and helpers
-
A robust FAQ to answer your pressing questions
By the end, you’ll feel confident turning your 3D assets into working SFM content.
What Is SFM Compile Basics & Purpose
SFM compile refers to the process of converting 3D models, animations, textures, and maps into formats that Source Filmmaker can read and use. Without compilation, your custom assets won’t load, will show missing textures, or crash SFM.
Key Concepts
-
Models →
.smdor.dmx→ compile →.mdl -
Textures →
.png,.tga, etc. → convert →.vtf+.vmt -
Maps / levels →
.vmf→ compile →.bsp -
Animations / skeletal rigging must link correctly to models and skeletons
SFM Compile ensures:
-
Assets are properly formatted
-
Textures are linked and found
-
The engine can render your items without errors
-
Performance (memory, loading) is manageable
A tool like SFMCompile (community tool) or Crowbar is often used to simplify model compilation. sfm-compile.com+1
Requirements and Tools You Need
Here’s what you’ll want to have before you begin compiling:
| Type | Tool / Asset | Purpose |
|---|---|---|
| Modeling / exporting | Blender (with Source Tools), Maya, 3ds Max | Create model, rig, export to .smd or .dmx |
| Model compiler | Crowbar, SFMCompile, studiomdl.exe | Converts .smd/.dmx + QC script → .mdl |
| Texture converter | VTFEdit, VTEXTool | Create .vtf (Valve Texture Format) and .vmt (material file) |
| Map / level tools | Hammer Editor, VBSP, VVIS, VRAD | Compile .vmf maps into .bsp with lighting & visibility |
| Code / script editor | Notepad++, VSCode | Writing / editing QC scripts, material scripts |
| SFM itself & SDK | Source Filmmaker + relevant SDK tools | To test compiled assets inside SFM |
You should also organize your folder structure:
This clarity helps avoid missing file path errors.
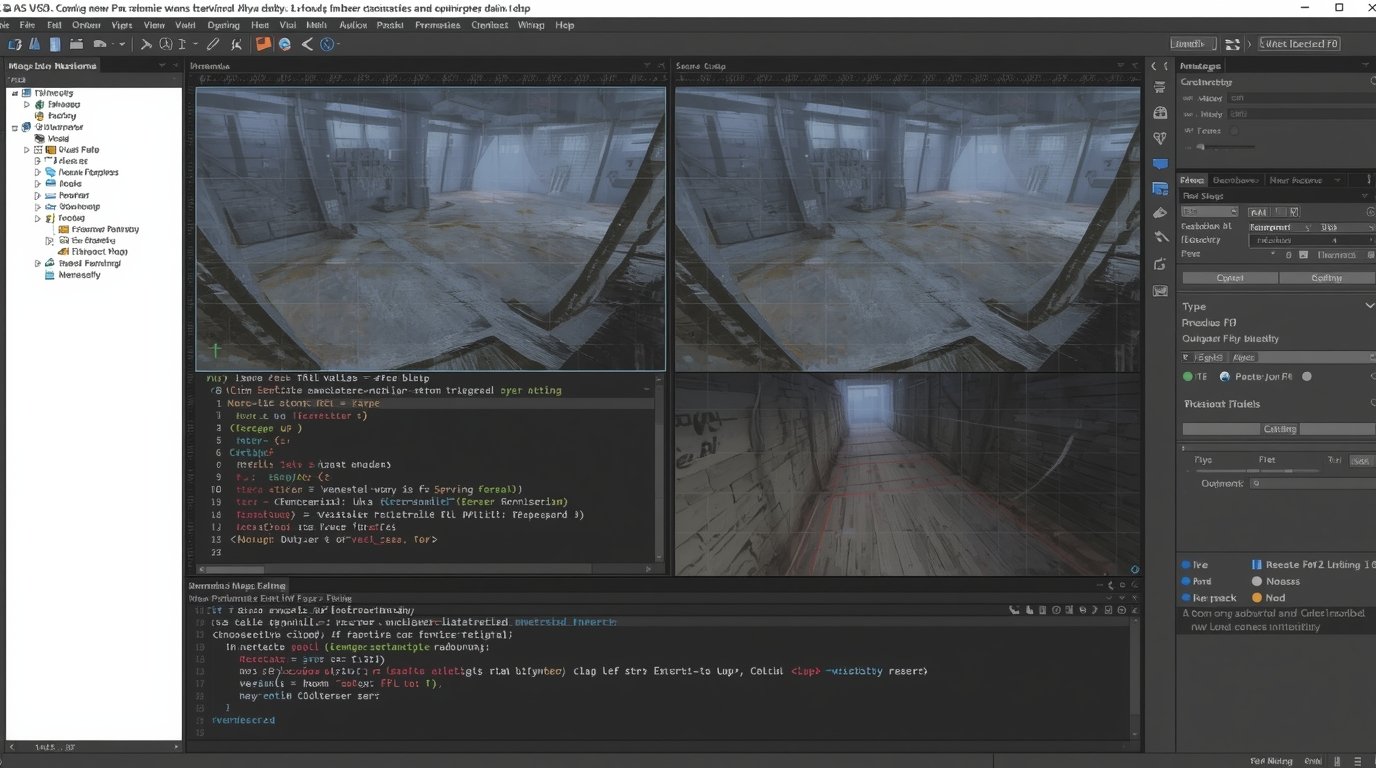
Step‑by‑Step Compile Process (with Code & Screenshots)
Below is a general workflow. Adjust tweak steps as needed for your specific model, map, or animation.
1. Prepare Your Assets in Modeling Software
-
Model your geometry.
-
Rig bones / skeleton.
-
If animating, create animation sequences.
-
UV unwrap and assign texture maps.
-
Export to
.smdor.dmx. (Use Source Tools or appropriate plugin.)
Example QC snippet (for model compilation):
Save it as my_model.qc. This file tells the compiler how to build your .mdl.
2. Compile the Model
Using Crowbar (GUI) or a command line:
-
Open Crowbar → “Decompile / Compile Model” → choose your
.qcfile. -
Click “Compile.” Crowbar runs
studiomdl.exeunder the hood. -
Fix errors as they appear in the log.
3. Convert & Link Textures
-
Use VTFEdit to convert your
.png/.tgato.vtf. -
Create
.vmtfiles that point to those.vtftextures. For instance:
-
Place
.vtfand.vmtin yourmaterials/models/my_model/folder (or as indicated by$cdmaterials).
4. Compile Maps (if needed)
If your project includes a custom map:
-
Open
.vmfin Hammer Editor. -
Use VBSP → VVIS → VRAD (often triggered via F9).
-
Output
.bsp, with lighting and optimized visibility. -
Place
.bspin yourmaps/folder so SFM can load it.
5. Test in SFM
-
Open SFM.
-
In the Model Browser, load your compiled model.
-
Check textures, rig, animations.
-
Load your map / set a camera, add lighting.
-
If issues occur, review compile logs.
6. (Optional) Render / Export Movie
Once your assets work, animate and render. SFM often exports as image sequences; many users then compile into video using Blender or external tools. Reddit
Common Errors and Their Fixes
Here are some frequent issues and how to solve them:
| Error / Symptom | Cause | Fix / Workaround |
|---|---|---|
| Missing textures (purple/black) | .vmt or .vtf not found or path mismatched |
Ensure $cdmaterials path matches where textures are stored |
| QC compile failed | Syntax error, wrong file name, missing directive | Check .qc for typos, correct sequence names |
| Model shows no animations | No $sequence in QC or mismatched file names |
Add valid $sequence lines, ensure .smd names match |
| Too many vertexes / faces | High-poly model exceeds engine limits | Simplify mesh, use LOD models |
| SFM crashes on import | Bad compile, missing dependencies | Re-run compile log, test in model viewer first |
| Map fails to compile | Incorrect Hammer setup, lighting errors | Check brush errors, fix leak (open sky), recalculate lighting |
“You need to create a .qc file and compile it with studio mdl … Also don’t use SMD — DMX format is more convenient.” Reddit
If errors persist, read the log line by line. Usually, it tells you missing files or invalid paths.
Optimization Tips & Best Practices
To make your assets leaner, faster, and more stable:
-
Use Level of Detail (LOD): Create simpler versions of your model for distant rendering.
-
Consolidate textures: Combine small textures into atlases to reduce material switches.
-
Cull unseen geometry: Remove faces that will never be visible.
-
Limit material count: The fewer different materials, the better performance.
-
Bake lighting where possible: Pre‑baked lighting for static parts of map/models.
-
Use compression:
.vtfsupports compression to reduce file size. -
Test incrementally: Don’t build a massive scene all at once — compile parts individually.
These strategies can dramatically shrink compile time and avoid runtime lag.
Platform‑Specific Notes (Windows, Linux, Mac)
While most SFM workflows run on Windows, here are platform considerations:
-
Windows: Most tools (Crowbar, VTFEdit, Hammer, studiomdl) are native. This is the standard environment.
-
Linux / Mac: You’ll often need Wine / Proton / compatibility layers to run Windows-only tools.
-
Some building pipelines (e.g. using command-line tools) can be scripted for Linux or Mac, but debugging is harder.
-
Always test compiled assets on the Windows version of SFM because that’s the standard production environment.
If working cross-platform, keep path separators consistent (/ vs \) and avoid absolute paths.
Plugins / Tools That Assist Compilation
Here are some standout tools and plugins to ease your workflow:
-
Crowbar — GUI front end for model compilation, decompiling, batch processing
-
Source Tools (Blender addon) — export
.smd/.dmxdirectly from Blender -
VTFEdit — texture conversion to Valve formats
-
QC File Generators / Scripts — help scaffold
.qctemplates -
Hammer Editor — compile
.vmfmaps -
Batch scripts / automation — wrap compile commands in shell/batch files
-
Model Viewer (SFM SDK) — preview compiled models without starting SFM
These tools help you skip boilerplate, reduce human error, and accelerate iteration.
FAQ (with Schema / Structured Data Style)
Here’s a sample FAQ section (which you can mark up with structured data on your blog):
Q1: What file formats does SFM compile use?
A: Models: .mdl, Animations: .ani, Maps: .bsp, Textures: .vtf + .vmt.
Q2: Why did my texture not show?
A: Most likely your $cdmaterials path in QC does not match where .vmt / .vtf are placed.
Q3: Can I compile multiple models at once?
A: Yes, Crowbar or automation scripts allow batch compilation of models.
Q4: Does SFM compile produce video?
A: Not directly. It often outputs image sequences; use a video tool (e.g. Blender) to convert to .mp4 or .mov.
Q5: What is the difference between SMD and DMX formats?
A: DMX is a more modern format supporting advanced rigs and facial flexes; many creators prefer it.
Q6: Which OS is best for compiling?
A: Windows is standard and easiest. On Linux or Mac you may need compatibility tools, and testing should be done on Windows.
Conclusion & Further Resources
Compiling for SFM is one of the more technical, but also most rewarding steps in creating custom animations. Once you master the pipeline—models, textures, maps, debugging, optimization—you gain full creative freedom inside SFM.