Sfm compile | Designing & Modeling the Character Designing & & Import into SFM
Table of Contents
-
Introduction & What “Compile” Means in SFM
-
Tools You’ll Need (and Why)
-
Designing & Modeling the Character (Head & Body)
-
Rigging, Skin Weights & Facial Blendshapes
-
Exporting to SMD / DMX / Intermediate Formats
-
Writing the QC File (Compile Specification)
-
Compiling the Model (Crowbar / studiomdl / SFM Compile)
-
Porting External 3D Characters into SFM
-
Verifying in Model Viewers & Import into SFM
-
Advanced Tips & Best Practices
-
Challenges & Common Pitfalls
-
FAQs
-
Conclusion
1. Introduction & What “Compile” Means in SFM
In the world of Source Engine tools (like SFM, GMod, etc.), “compile” refers to converting your raw creative assets, meshes, skeletons, textures, animations, and blendshape data into engine‑usable formats (.mdl, .vvd, .vtx, .phy, etc.) SFM compile cannot use a raw Blender, Maya, or OBJ/FBX file directly (or at least not fully with animations/flexes). The compile pipeline is the bridge between your modeling tool and SFM’s runtime environment.
When you “create a model in SFM compile,” the general flow is:
-
Model & texture the character in a 3D software
-
Rig, skin weights, and if needed, create facial blendshapes (expressions)
-
Export intermediate formats (SMD, DMX)
-
Write a QC file that instructs the compiler how to assemble everything
-
Run the compile tool (Crowbar, studiomdl, or a custom SFM Compile wrapper)
-
Place the compiled assets and textures in the proper SFM folders
-
Load and test the character in SFM
This process ensures SFM can properly read your geometry, animations, materials, and facial flexes.
2. Tools You’ll Need (and Why)
Here’s a breakdown of tools used in each stage, and what each is responsible for:
| Tool | Role | Notes / Tips |
|---|---|---|
| 3D Modeling Software (Blender, Maya, 3ds Max, etc.) | Model the character, sculpt, UV unwrap, rig, create blendshapes | Blender is free and has strong community support. Use the Source Engine export plugins (such as Blender Source Tools) |
| Source Engine Exporter Plugin | Export meshes, skeleton, animations to .smd or .dmx |
E.g. Blender Source Tools, other SMD/DMX exporters |
| Crowbar | GUI wrapper for model compilation/decompilation (uses Valve’s studiomdl under the hood) |
Easier for beginners than pure command line |
| studiomdl.exe | Valve’s model compiler (core engine) | The actual compiler that reads QC and produces .mdl, .vtx, etc. |
| VTFEdit | Convert texture images (PNG, TGA, JPG) into Valve’s .vtf format |
Also preview textures, adjust mipmaps, and compression |
| Text Editor / QC Editor (Notepad++, VSCode, etc.) | Write and maintain QC scripts, material files (.vmt) |
Use line numbering, syntax highlighting |
| Model Viewer / HLMV / Source Model Viewer | Preview compiled model, check animations & textures before loading in SFM | Helps catch issues early |
| SFM / SFM Custom Mod / SDK Search Paths | Where your compiled model and textures live so SFM can see them | Understanding how to manage search paths is crucial |
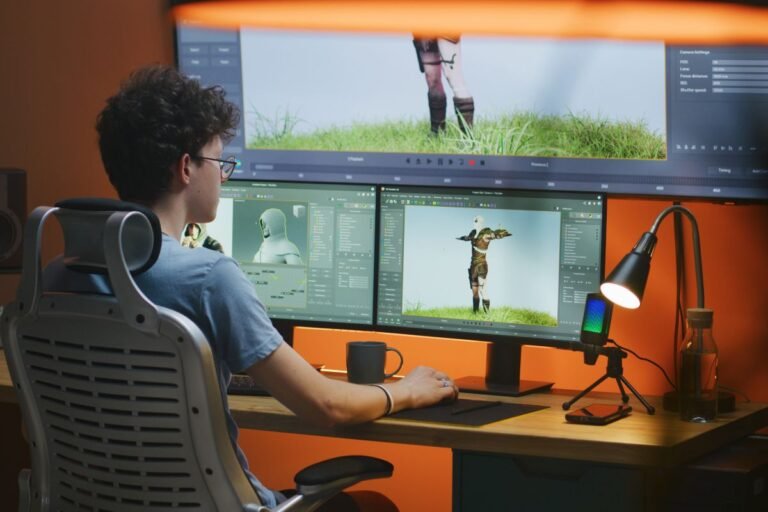
3. Designing & Modeling the Character (Head & Body)
This is the stage where you build your character’s mesh, focusing especially on head and face since facial animation is often the trickiest.
A. Character Concept & Reference
-
Before modeling, gather reference images for the face (front, side), expressions, proportions, etc.
-
Decide on the style (realistic, stylized) and complexity (poly count, how much detail).
B. Head & Face Topology
-
Use edge loops around eyes, mouth, nose, jawline so the mesh deforms well.
-
Keep the mesh clean, mostly quads, avoid n-gons or complex triangles in key deforming areas.
-
Maintain good vertex density: not too high (to bloat performance), not too low (to lose detail).
C. Body Modeling (Torso, Limbs)
-
The body should also be well-proportioned and rig-friendly.
-
Use symmetrical modeling initially (mirror across the center), then break symmetry later for natural variation.
D. UV Unwrapping & Textures
-
Unwrap UVs with minimal stretching, particularly in the face.
-
Keep texture maps sizes consistent and power-of-two (e.g. 512×512, 1024×1024, 2048×2048).
-
Create diffuse (albedo), normal map, specular / roughness maps as needed.
-
Name textures clearly (e.g.
head_diff.tga,body_diff.tga,head_norm.tga).
E. Sculpting / Detailing (Optional)
-
Use sculpting brushes (in Blender, Maya, ZBrush) to add wrinkles, creases, pores.
-
Retopologize after sculpting to make clean deformation topology.
-
Bake high-detail sculpt information (from high poly) to normal map for the base mesh.
F. Preparing for Rigging
-
Position the mesh at origin, oriented properly (e.g. forward facing, Y-up or whichever convention your export plugin uses).
-
Apply transformations (scale, rotation, location) so they are “zeroed” or “applied” before export.
4. Rigging, Skin Weights & Facial Blendshapes
Animating a character requires skeletal bones and skin weights; for facial animation, blendshapes (morphs or flexes) often provide finer expression control.
A. Skeleton / Joint Setup
For a basic head + body, your skeleton might include:
-
Root / Pelvis, Spine, Neck, Head
-
Jaw, Eye_L, Eye_R
-
Limb joints (if full body)
-
(Optional) Auxiliary facial bones (for minimal facial bone deformations)
Bones must have reasonable naming conventions (no spaces, consistent naming) because the exporter and QC rely on names matching.
B. Skin Weighting
-
Assign vertex weights so that when you move a bone, nearby vertices move naturally.
-
Use smooth falloff for joints; test deformations (bend neck, tilt head, rotate jaw) to catch errors.
-
Normalize weights (sum of influences = 1 for each vertex) to avoid weird stretching.
C. Facial Blendshapes / Morph Targets (Expressions)
-
For expressive facial animation (smile, frown, blink, mouth open/close, eyebrows, etc.), create blendshapes (also called morph targets, flexes).
-
You duplicate the head mesh (in neutral pose) and move vertices to create each expression shape.
-
Each blendshape should only store differences (offsets) from neutral.
-
Name them clearly (e.g.
blink_L,blink_R,mouth_open,smile,frown,brow_raise, etc.). -
Ensure that the number of vertices and topology is identical in each blendshape.
D. Testing Deformations
-
In your 3D software, rotate bones, apply blendshapes, and test combinations (e.g. jaw + smile, blink + head tilt).
-
Fix any stray vertices or distortion issues.
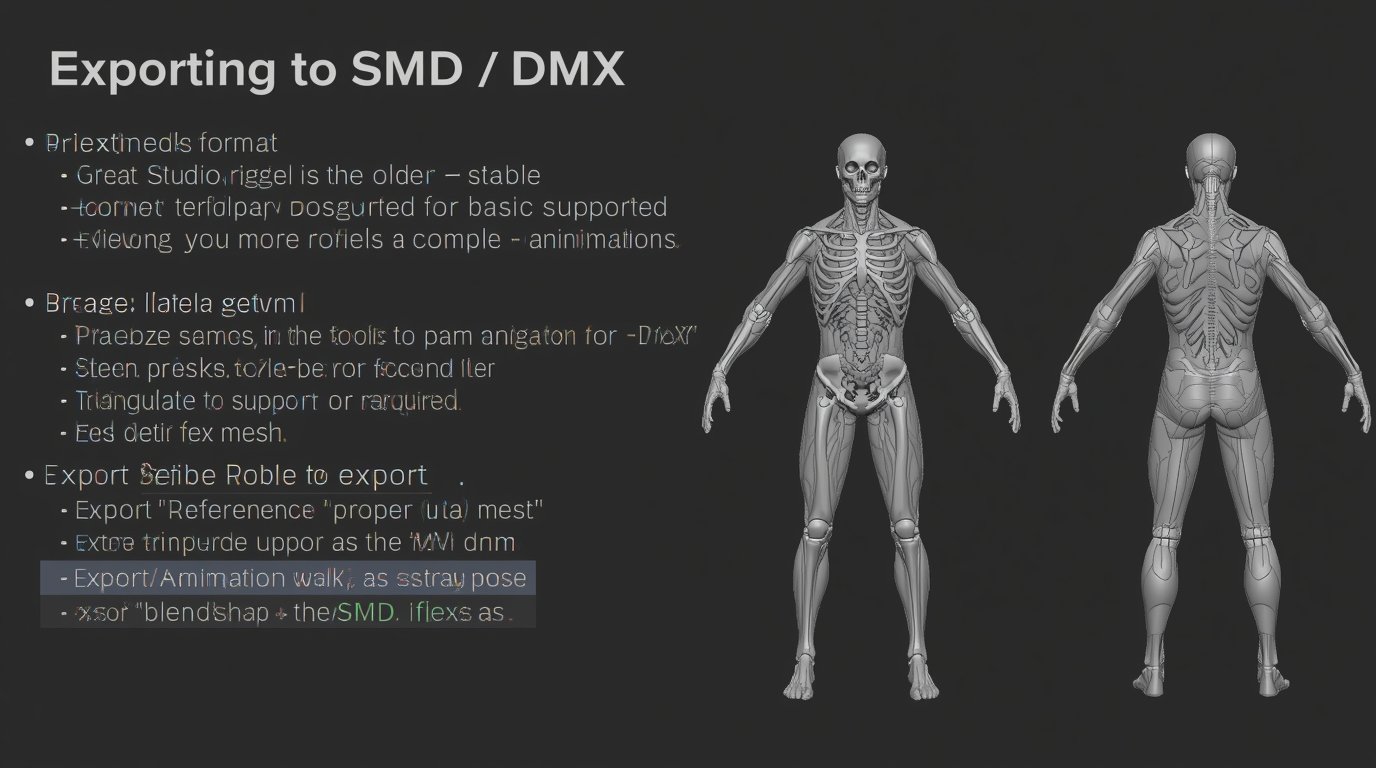
5. Exporting to SMD / DMX / Intermediate Formats
Once your model is rigged, weighted, and tested, you export it into a form the Source compiler can read.
A. Choosing Format: SMD or DMX
-
SMD (Studio Model Data) is the older, more stable format and widely supported for basic models + animations.
-
DMX is more advanced, better supports flexes / more complex animations. If your exporter supports DMX, it’s often better for face/flex work.
B. Preparing the Model for Export
-
Apply (freeze) your transforms (scale, rotation, translation).
-
Triangulate the mesh if required (some exporters or compilers prefer triangular faces).
-
Ensure the skeleton is properly transformed and consistent.
-
Remove unused bones or stray meshes.
C. Export Steps (Example in Blender with Blender Source Tools)
-
Select mesh + armature
-
Use Export → Source Engine (.smd / .dmx)
-
Choose “Reference / Static Mesh” export for the neutral pose
-
Export each animation (walk, idle, etc.) as a separate SMD/DMX
-
Export blendshape / flexes (if plugin supports)
-
-
Save exported files in a logical folder structure, e.g.:
Check the exported files (open in a text editor) to verify bone names, vertex counts, etc.
6. Writing the QC File (Compile Specification)
The QC (QuakeC) script is the heart of the compile. It tells the compiler which meshes, animations, flexes, materials, collision models, etc. to use and how to assemble them.
Here’s a more detailed QC template for a full character with face flexes. You can adapt it to your project:
Explanation of Key QC Commands
-
$modelname: Defines where, within SFM, the model will appear (e.g.mycharacter/mycharacter.mdl). -
$cdmaterials: Where the compiler and SFM will look for material files (textures). -
$bodygroup: The main mesh / body. -
$flexfile,$flexcontroller,$flex: Define facial flexes (expressions) and how they relate to bones / controllers. -
$attachment: Mark bone-based attach points (e.g. eyes, muzzle). -
$sequence: Animation sequences (with fps, loop etc). -
$collisionmodel: The physics/collision mesh (for props, physics interactions). -
$lod: Level of detail meshes (for rendering lower resolution at range).
You may need additional QC commands depending on your model complexity (e.g. $illumposition, $surfaceprop, $texturegroup, $materialgroup, $animblock, etc.).
7. Compiling the Model (Crowbar / studiomdl / SFM Compile)
Once your QC and exports are ready, you compile.
Using Crowbar (Recommended for Beginners)
-
Open Crowbar, go to the Compile tab.
-
Under “Game Setup,” choose Source Filmmaker (so it points to the correct
studiomdlbinary). -
Browse and load your
.qcfile. -
Set Output Directory (e.g.
…/SourceFilmmaker/game/usermod/models/mycharacter/) -
Click Compile.
-
Crowbar will run
studiomdlinternally and show logs (warnings, errors, success).
If errors, Crowbar’s log window helps you locate missing files, bad paths, or syntax issues.
Using studiomdl Directly (Advanced)
If you want full control:
-
Open a command prompt/terminal.
-
Navigate to SFM’s
bindirectory wherestudiomdl.exeresides (e.g.…/SourceFilmmaker/game/bin). -
Run:
-
The compiler will execute, producing
.mdl,.vtx,.phy,.vvd, etc in the relative output folders.
What Output Files You’ll See
After a successful compile, you’ll get:
-
mycharacter.mdl -
mycharacter.dx*.vtx(vertex data) -
mycharacter.sw.vtx -
mycharacter.vvd -
mycharacter.phy(physics) -
Possibly
.anior.vtxvariations depending on flexes/animations
These files are what SFM uses at runtime.
8. Porting External 3D Characters into SFM
If you have an existing 3D character (from Blender, FBX, other game engine, etc.), you can port it into SFM using a conversion workflow.
A: Import Into DCC (Blender / Maya / etc.)
-
Import your character (FBX, OBJ, etc.)
-
Clean up: remove unwanted meshes or rig parts
-
Re-topologize if necessary
-
Re-unwrap UVs if needed
B: Re-Rig or Adjust Skeleton
-
If the imported rig is not compatible, create a skeleton that matches Source conventions
-
Option: Use an existing Source skeleton (decompiled model’s skeleton) as a reference
-
Skin the mesh to the skeleton
C: Create / Adjust Blendshapes (If needed)
-
If there are existing expression morphs, ensure they match your new mesh, or re-create them
-
Ensure vertex correspondence if you use blendshapes
Step D: Export as SMD / DMX with the correct bone names/formats
-
Use the same export steps as in section 5
-
Ensure bone names in the exported files match your QC expectations
Step E: Update QC & Compile
-
Adjust QC paths,
$body,$sequence,$flex, etc. -
Compile and test
An approach many use: decompile an existing Source model (with Crowbar), take its .smd skeleton, import it into Blender, attach your new mesh to that skeleton, then export your custom mesh + animations using that skeleton. This helps maintain compatibility. (Many in the SFM/GMod community follow this approach.)
9. Verifying in Model Viewers & Import into SFM
Before loading into SFM, always test in a model viewer:
-
Use HLMV, Source Model Viewer, or Crowbar’s preview
-
Check geometry, textures, animations, and facial expressions
-
If a part is missing, or textures show as checker/purple, something was incorrectly referenced
Once validated:
-
Copy compiled
.mdl+ associated files toSourceFilmmaker/game/usermod/models/your_folder/ -
Copy textures (
.vtfand.vmt) toSourceFilmmaker/game/usermod/materials/models/your_folder/ -
Start SFM, create an animation set for the new model, search for your model path
-
Add to scene, pose, animate, test facial flexes
If the model doesn’t appear or shows errors, double-check file paths, folder structure, and search paths (in SDK or SFM’s import settings).
10. Advanced Tips & Best Practices
-
Use Level of Detail (LOD) meshes (via
$lod) to optimize performance. -
Combine multiple small textures into texture atlases to reduce material counts.
-
Keep bone count reasonable (too many bones can slow down performance).
-
Keep your folder and file names all lowercase and avoid spaces/special characters, as Source is picky.
-
Use version control or backups (Git, etc.) — mistakes in QC or rigging can silently break models.
-
Compile often, test frequently — find issues early rather than at the end.
-
For batch models or multiple skins, use batch compile scripts or Crowbar’s multi-compile feature.
-
Remove unused meshes or hidden geometry to speed up compilation.
-
Read Crowbar / studiomdl logs carefully — they point out missing files, path mismatches, or syntax errors.
11. Challenges & Common Pitfalls
-
Compile Errors: missing files, wrong paths, mismatch in bone or file names.
-
Textures appear purple: usually means VMT/VTF not found or
$cdmaterialswrong. -
Facial flexes not working: mismatched names, wrong export, or QC
$flex/$flexcontrollerissues. -
Model invisible or crashes: severe errors in QC or corrupted mesh.
-
Performance issues: too many polygons, too many bones, or heavy textures.
-
Crashes on import: sometimes from memory usage or a bad asset.
-
Naming mismatches: even minor typos or uppercase/lowercase issues can break linkages.
Some users report that when porting GMod models to SFM, it crashes SFM unless you decompile and recompile properly with correct skeletons and formats.
12. FAQs
Q1: Do I need to use “XFM Compile” or is Crowbar enough?
A1: There is no universally recognized tool named “XFM Compile” in the SFM community (at least as of today). Most creators use Crowbar (or other front-ends), which wraps studiomdl. If “XFM Compile” is a custom or new tool, you can apply the same principles: export, QC, compile.
Q2: Can I skip blendshapes and just use bones for facial expressions?
A2: You can, but bone‑based facial animation is limited and less natural. Blendshapes allow more nuanced expressions. Many models use a mix: bones for broad motion (jaw, head) + blendshapes for subtle expressions.
Q3: Why do textures show as checkerboard (purple & black) in SFM?
A3: That means SFM can’t find the texture. Common causes:
-
VMT / VTF files not in the correct
materials/folder -
$cdmaterialspath in QC is wrong -
File name mismatch (case sensitivity)
Q4: My model compiles, but doesn’t show in SFM what’s wrong?
A4: Check:
-
The compiled files are in
usermod/models/your_folder/ -
That textures are in
usermod/materials/models/your_folder/ -
That search paths are properly configured
-
That the QC
$modelnamepath matches where you placed it
Q5: Are there limits (bones, vertices) I should watch for?
A5: Yes, Source engine and SFM have practical limits (e.g., rendering performance, GPU memory). Keep bone count reasonable (100‑150 or less if possible), optimize vertex count, use LODs, and limit texture sizes to a manageable resolution.
13. Conclusion
Creating a fully rigged, facially expressive character for SFM is a challenging but rewarding process. It involves:
-
Solid modeling and UV/texturing
-
Rigging + blendshapes
-
Correct export to SMD/DMX
-
QC scripting to specify compilation rules
-
Running the compile tool (Crowbar /
studiomdl) -
Placing compiled assets + textures in the correct folders
-
Testing in model viewers, then in SFM