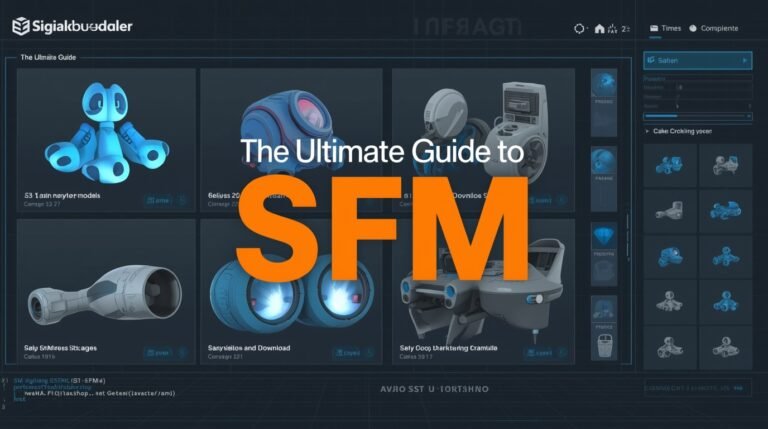
SFM Compile: | SFMCompile Common Source Formats (Creation Phase)
If you’ve ever created animations in Source Filmmaker (SFM), you already know that compiling or rendering is the final and most crucial step of your creative process. It’s where your hard work comes together into a polished video that’s ready to share with the world. However, many creators struggle with errors, long render times, or quality loss during the SFM compile stage.
This comprehensive guide explains everything you need to know about SFM compile, from what it is and how it works, to optimization tips, common issues, and advanced techniques to achieve professional-grade results.
🧩 What Is SFM Compile?
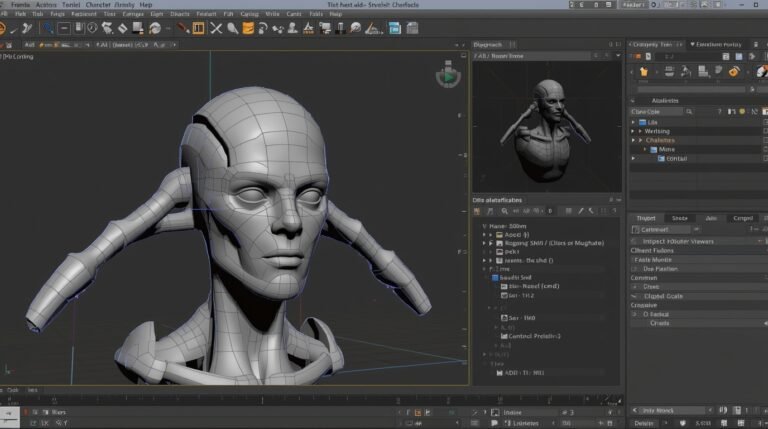
In simple terms, SFM compile is the process of exporting your finished animation into a playable video file. When you compile, Source Filmmaker gathers all your models, textures, lighting, and camera movements and converts them into frames that form a complete movie.
Think of it like baking a cake. You’ve mixed all the ingredients — now the compile is the baking process that brings it all together into something deliciously watchable.
During this process, SFM uses Valve’s Source Engine to render visuals frame by frame. The compile step determines the final quality, smoothness, and overall look of your animation.
🔧 Common Source Formats (Creation Phase)
These formats are used during the asset creation stage, typically in 3D modeling and texturing tools like Blender, Maya, Substance Painter, or Hammer Editor. They are editable and flexible but must be compiled before use in SFM.
-
.SMD (Source Model Data): A widely-used format for exporting skeletal models and animations from software like Blender or Maya. SMD files are essential for getting rigged models and animations into the Source pipeline.
-
.FBX (Filmbox): Developed by Autodesk, FBX is a powerful format for transferring 3D models, rigs, and animation data. It’s especially useful in professional workflows, but it must be converted—typically to .SMD or .DMX—for use with SFM.
-
.TGA (Targa): A texture image format that supports transparency via alpha channels. Artists use TGA files for diffuse, specular, and normal maps before converting them to the engine’s texture format.
-
.VMF (Valve Map Format): The raw format used by the Hammer Editor for level design. A VMF file contains geometry, entity placement, and logic for the map—but needs to be compiled before it can run in Source Filmmaker.
These formats allow creators to design freely, but SFM doesn’t read them directly. They must be processed into a format that the Source engine can understand.
✅ Compiled Output Formats (Engine-Ready)
Once assets are created, they must be compiled using tools like Crowbar, VTFEdit, StudioMDL, and Hammer’s map compiler. Compiling transforms raw files into formats optimized for in-game use.
-
.MDL (Model): The fully compiled model format. It contains mesh data, hitboxes, animations, and physics models. Without an MDL file, a model can’t be loaded in SFM.
-
.VTF (Valve Texture Format): Textures are compiled into this format from TGA or other images. VTF files are GPU-friendly and include mipmaps and compression options.
-
.VMT (Valve Material Type): These are script-like text files that define how VTF textures are applied to models. They control surface properties like reflectivity, translucency, and bump mapping.
-
.ANI (Animation): Precompiled animation sequences used by characters or props. These files are often baked into the .MDL but can also be separate.
-
.BSP (Binary Space Partitioning): The compiled map format used in Source games and SFM. It contains all geometry, lighting, and navigation data. This is what you see when you load a custom map in SFM.
Part 1: What You Create vs. What SFM Reads
You’ll work in two “realms”:
-
Source (author) formats: the files you edit, export, and modify
-
Compiled (engine) formats: the files SFM actually loads
Here are the key formats you’ll see, and where they belong.
| Stage | Format | What it stores | When/why you use it |
|---|---|---|---|
| Authoring | .SMD | Mesh + skeleton + basic animations | From Blender/Maya to Source pipeline |
| Authoring | .FBX | Models + animations with richer data | Export from many tools, convert later |
| Authoring | .TGA | Texture maps (diffuse, normal, etc.) | You paint or bake these in image tools |
| Authoring | .VMF | Raw level/map design | In Hammer Editor or map tools |
| Compiled | .MDL | The final model file SFM uses | After you compile your model |
| Compiled | .VTF | Engine‑ready texture format | From TGA → VTF |
| Compiled | .VMT | Material script (how texture behaves) | Tied to your VTF files |
| Compiled | .ANI | Compiled animation sequence | If your model has animations |
| Compiled | .BSP | Final map file with lighting | After compiling your VMF |
You start with SMD, FBX, TGA, VMF — those are your “working files.” Then you compile them (via special tools) into MDL, VTF, VMT, ANI, BSP — the formats SFM understands.
Part 2: Why Compiling Matters (and What It Gives You)
When you compile properly, you gain:
-
Performance & Efficiency: Compiled formats are optimized for rendering, so your scenes run smoother.
-
Compatibility: SFM won’t load your raw .fbx or .tga directly. Only MDL, VTF, etc., will work.
-
Stability: You reduce crashes, broken textures, mismatched animations.
-
Edit + Update Flow: Change your source file, recompile, and the updated version replaces the old one.
-
Modularity & Reuse: You can swap textures, materials, maps, or animations without rebuilding everything.
But it’s not automatic you must set things up right, or the compile will break.
Part 3: How To Compile Step by Step
Here’s the pipeline from raw file → usable in SFM. Follow along, and you won’t get stuck.
Step 1: Organize Your Project Files
Keep your folder structure clean. For example:
Use short names, no spaces, no special characters. That reduces path errors.
Step 2: Write a QC File (for models & animations)
A QC (QuakeC) file is a script that tells the compiler:
-
What mesh to use
-
Where your textures live
-
What animations to include
-
How to name the output model
-
Collision/physics behavior
A minimal QC example:
-
$modelnamesets the final MDL path -
$cdmaterialstells where materials / textures live -
$bodypicks the mesh -
$sequenceadds animation sequences -
$collisionmodeldescribes physics
If your QC is wrong (typo, incorrect paths, missing sequences), compilation will fail.
Step 3: Compile Models (SMD → MDL / ANI)
You’ll use a compiler tool such as studiomdl.exe (from the Source SDK) or a GUI wrapper like Crowbar.
-
If you use studiomdl, run it from the command line pointing to your QC file:
-
If you use Crowbar, it gives a GUI. You load the QC file, set the output folder, and hit “Compile.”
If successful, the tool outputs:
-
.mdl(model) -
.vtx,.phy,.dx90.vtx— support files -
.ani(if animations included)
Check the compile log for errors or warnings; they often tell you exactly what’s wrong (missing file, bad path, etc.).
Step 4: Convert Textures (TGA → VTF + VMT)
You need VTFEdit (or similar) to convert your texture maps:
-
Open your TGA file
-
Set proper flags (e.g. transparency, mipmaps)
-
Save as
.vtf -
Generate a
.vmtfile (material script) that references your.vtf
Example VMT:
Place .vft and .vmt somewhere like:
If textures don’t show, check the paths inside the QC and VMT carefully.
Step 5: Compile the Map (VMF → BSP)
Maps must be compiled too. You use tools:
-
vbsp— build geometry -
vvis— visibility (what can the player see) -
vrad— lighting & shadows
In Hammer Editor, there’s usually a “Run Map” or “Compile Map” button which runs all three. It generates a .bsp file which you place in:
Test it in SFM to see if lighting, entities, and geometry behaved as expected.
Step 6: Load Into SFM compile & Test
Once everything compiles:
-
Copy
.mdlto yourusermod/models/...folder -
Copy
.vmt/.vtftousermod/materials/models/... -
Copy
.bsptousermod/maps/
Open SFM:
-
Use “Create Animation Set for New Model”
-
Browse to your compiled model
-
Rotate / zoom / animate — test all sequences
-
Load your map and place props
If the model shows up pink, black, or as an error box, refer back: either textures didn’t compile, the VMT is wrong, or the folder layout is incorrect.
Part 4: Common Errors & How to Fix Them
Here’s a cheat sheet of pitfalls you’ll hit, and how to resolve them.
| Error / Symptom | What Causes It | Solution |
|---|---|---|
| Pink / black model | Texture missing or VMT wrong | Check .vtf/.vmt paths, shader names, Qc $cdmaterials |
| “Model is not a .MDL file” | Compile failed silently | Run via command prompt to see compile log |
| Animation doesn’t play | Missing $sequence in QC or bone mismatch |
Confirm bone names, animation SMD correct |
| Map dark or leaks | Lighting compile or brush gaps | Rerun VRAD, check map edges, find leaks |
| Cannot find the model in SFM | Wrong folder/path | Ensure compiled files are in the correct usermod folder with the correct structure |
Reddit users often face “could not load file ‘Bee.smd’” errors because file names are wrong or QC is incomplete. Always double-check spelling and folder structure.
Another frequent issue: models showing as “error” boxes in SFM. The console log will often say “Model … not a .MDL format file” — meaning the compile output was broken.
Part 5: Tips, Tricks & Best Practices
-
Always test with simple props first. Try compiling a cube or sphere before doing a full character.
-
Use lowercase names, no spaces, no special characters.
-
Keep your folder structure short and clean.
-
Backup your source files and QC scripts.
-
Whenever you change textures or models, recompile and test immediately.
-
Read compile logs — they tell you line numbers and missing paths.
-
If you see repeated errors, search for them. The SFM / Source modding community is huge, and many problems are already solved.
-
Decompile existing workshop models (via Crowbar) to inspect how others structure QC, models, and materials.